Ember: The Screenshot App That Dared to do More
It’s tough to start over, to throw out what you already have and start anew. And yet, that nimbleness is seemingly the most required trait of successful software companies today. Desktop software that made sense a decade ago often needs far more than just updates today—it needs rethought for the needs and use-cases of today’s mobile world. You can either change, or watch a nimbler new startup take away the new version of the market you used to claim.
Thus, it’s far from surprising that Realmac Software decided last year to kill LittleSnapper, their screenshot tool that made it simple to grab screenshots, annotate them, and store them together in a library, in lieu of the new, lighter and leaner Ember. Instead of being a tool just for screenshots—something that almost only appealed to geeks, who themselves are almost as likely to use the built-in Mac screenshot tools anyhow—Ember was designed as a tool that almost anyone could use. If you ever save images that don’t quite fit in your Lightroom photo library—whether design inspiration clippings or screenshots or font samples or color swatches or anything else—you’ll find a use for Ember.
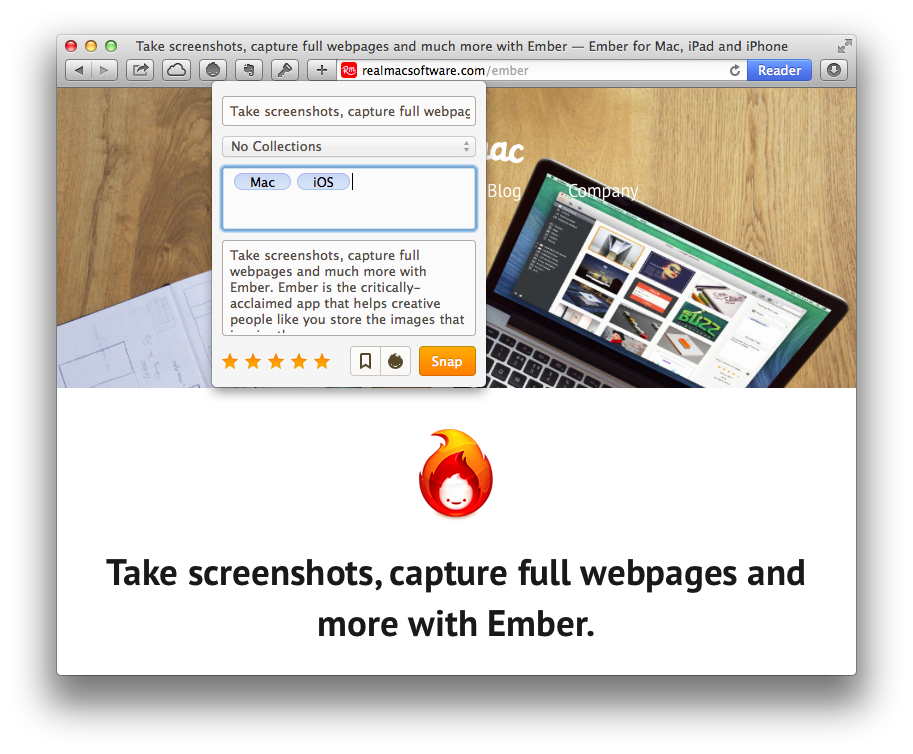
Here’s how it works. You use its built-in screenshot tools—holdovers from LittleSnapper—to clip anything you see on your screen, or drag and drop any image, video, PSD, AI, or text files into Ember. Or, you click the web tab in Ember or install its browser add-ons, then open a page you want to save and click the Ember button, then choose to just bookmark the page (which saves any site metadata and notes you added, along with a small clip of the front page), clip the entire page (which saves a full-length image of the website, along with its full source code), or in the Ember app’s browser you can select just a portion of the site to save.
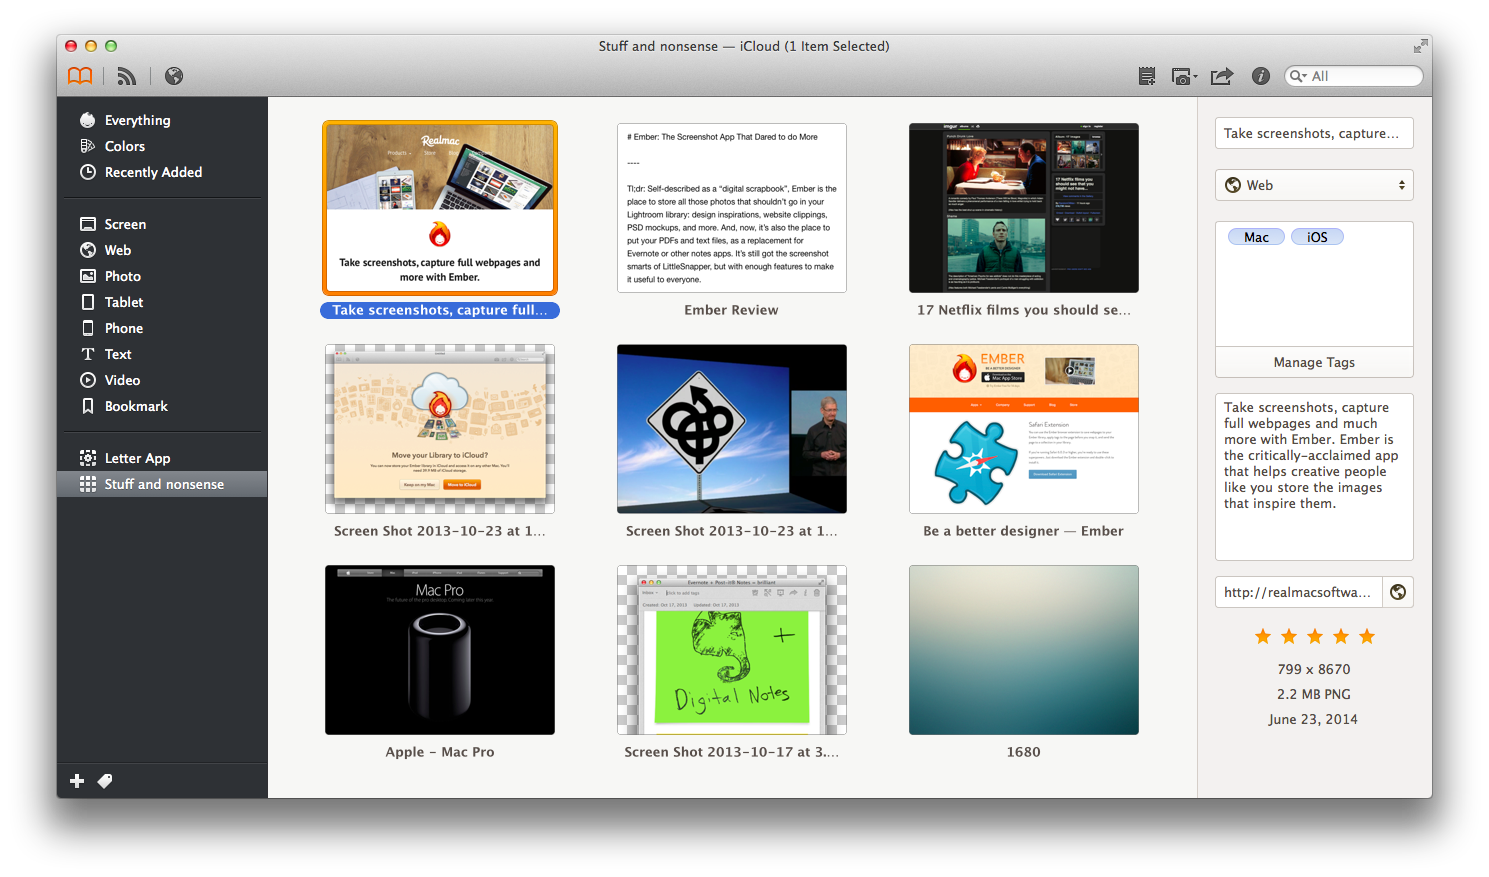
Now, you should head over to the main Ember app, where you’ll see your clipped items—screenshots, images, bookmarks, and files—all in the middle of the window, with an inspector on the right side of the screen that lists the metadata from the selected items. On the left, you’ll find quick collections of your items based on the type of clipping, along with any other collections you add to organize your own items. Then, select an item, and you’ll get mockup tools to quickly tweak your clips and share them using iCloud, CloudApp, and more.
There’s features for screenshot geeks. You can snap full-length websites, for one, and then annotate them with simple tools like the Smart Drawing tool that’ll automatically turn your squiggles into arrows and circles and more. Then, as mentioned before, you can view and edit the full source code of sites you’ve clipped, a great way to see how exactly the designers worked their magic in making the site that inspired you. Then, in the built-in browser, you can even resize the browser view or pick from standard device screen sizes to test responsive sites and screenshot them in the way they’d look on mobile.
There’s features for organization geeks who might go for a bucket app otherwise, but who’d also like Ember’s simplicity. You can bring in most of the files you use, now that it supports text and PDF, and can jot down simple notes right in Ember or select and copy text from PDFs if you want. Then, you can organize everything in smart collections that’ll automatically show items with specific tags, titles, format, rating, and even colors that Ember automatically detects. There’s also search—though for now, it only looks at the items’ metadata: their file names, date created, rating, tags, note, and type of clipping.
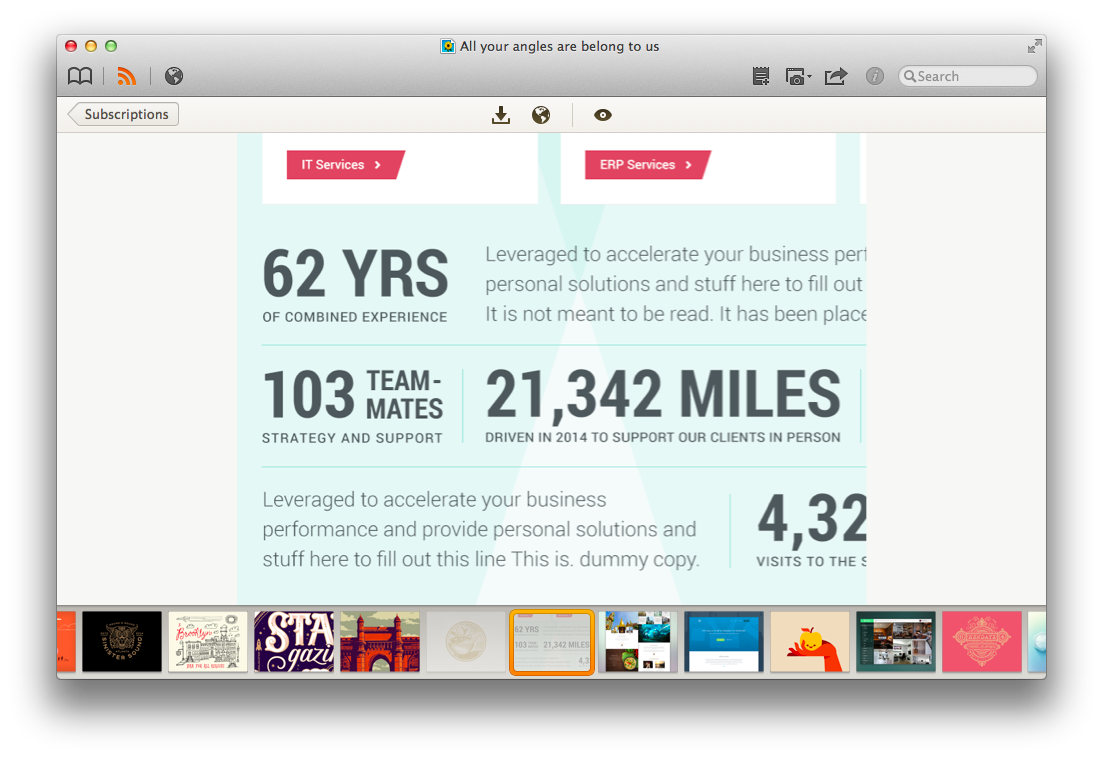
And then, of course, there’s features for design geeks, the ones the original launch of Ember seemed to emphasize. You can drag in all your inspiring pictures and clip the sites with the styles you like, then organize them into your own categories. Better yet, you can automatically get inspired with RSS subscriptions to image feeds from Dribbble, Inspired UI, 500px, and more, and add images you like to your library (and the UI feeds there will likely catch the eye of screenshot geeks that might have initially dismissed the design features as silly extras).
The original image-only release of Ember wasn’t quite enough to satisfy many, as can be seen in the comments on our Mac.AppStorm reviews of Ember. Simplicity, it seemed, was not enough to stand on its own. But still, there were plenty of people who embraced Ember for its focus and simplicity, and the Ember site has a ton of stories of how designers and more the world over have found it useful.
And now, I suspect, with the addition of bookmarking and support for other file types, Ember will prove itself useful to a far wider range of users. If it’d only let you search through the full-text of clipped sites, PDFs, and text notes (since right now it only lets you search through file names and their metadata), and perhaps include Markdown rendering for notes—along with support for web clipping on iOS—it’d essentially be everything you need for a simple bucket app that looks nicer than Evernote. Already, it’s the perfect graphical bookmarking app as long as you add any info you want in the description box, easily as good as Evernote plus the Web Clipper for that.
Ember won’t be the same app for everyone. For some, it’ll continue to be a place for design inspiration, while for others it’ll be a new graphical bookmarking app, and for others it’ll be the place to put all those pictures and other files that don’t quite make sense anywhere. That’s the magic that can happen when you strip an app down to its bare minimum and build up from there. You can make an app that’s more useful to a far wider range of people.
And that’s exactly what Ember is. Screenshots alone aren’t enough to get most people to buy an app—even me, and I take screenshots all day long with OS X’ built-in tools—but combine those features with a library, annotation features, and file support that goes far beyond screenshots into a bookmarking and basic notes app, and Ember ends up being an app that almost anyone can use. And enjoy.
Purchasing Ember
You can buy Ember from the Mac App Store or directly from the Realmac Store for $49.99. Both versions are the same, with the exception of syncing services: both versions can sync your library via Dropbox, but only the App Store version can sync via iCloud.
Ember for iOS is a universal app for iPhone and iPad, costs $4.99, then offers a $1.99 in-app purchase to automatically import screenshots and a $4.99 in-app purchase to add annotations to images. Altogether, that makes it cost $11.97 for full functionality on iOS.
Ember
Self-described as a “digital scrapbook”, Ember is the place to store all those photos that shouldn’t go in your Lightroom library: design inspirations, website clippings, PSD mockups, and more. And, now, it’s also the place to put your PDFs and text files, as a replacement for Evernote or other notes apps. It’s still got the screenshot smarts of LittleSnapper, but with enough features to make it useful to everyone.
for Mac and iOS | $49.99
What do you think about Ember? Let me know on Twitter.