How to Use a Mouse With iPad
73 years after the invention of the mouse, and a dozen years after the iPhone made touchscreens feel like the inevitable future of computing, the mouse is back. Not that it ever fully went away, mind you, but Apple’s iPad always pushed in a different direction, first with a finger-focused touch interface, later augmented with the Apple Pencil.
And now, you can use a mouse on an iPad.
With iPadOS, the iPad-focused version of iOS 13, there’s a mouse option hidden under iOS’ Accessibility settings. It’s the real deal. You can connect a bluetooth or USB mouse and click and tap to your heart’s content. Anything that works with your finger works with a mouse; you can select text, drag pages to scroll or use the scroll wheel, and click and swipe up from the bottom and sides of the screen as you would with your finger.
Here’s how to get it working.
What Do You Need to Use a Mouse With an iPad?
You first need iPadOS 13, the latest version of iOS for the iPad. It’s in beta right now, so unless you have a spare iPad for testing and love having software crash all the time, it’s best to wait for public release sometime this fall.
Any iPad that supports iPadOS works with mice—so an iPad Air 2 or newer.
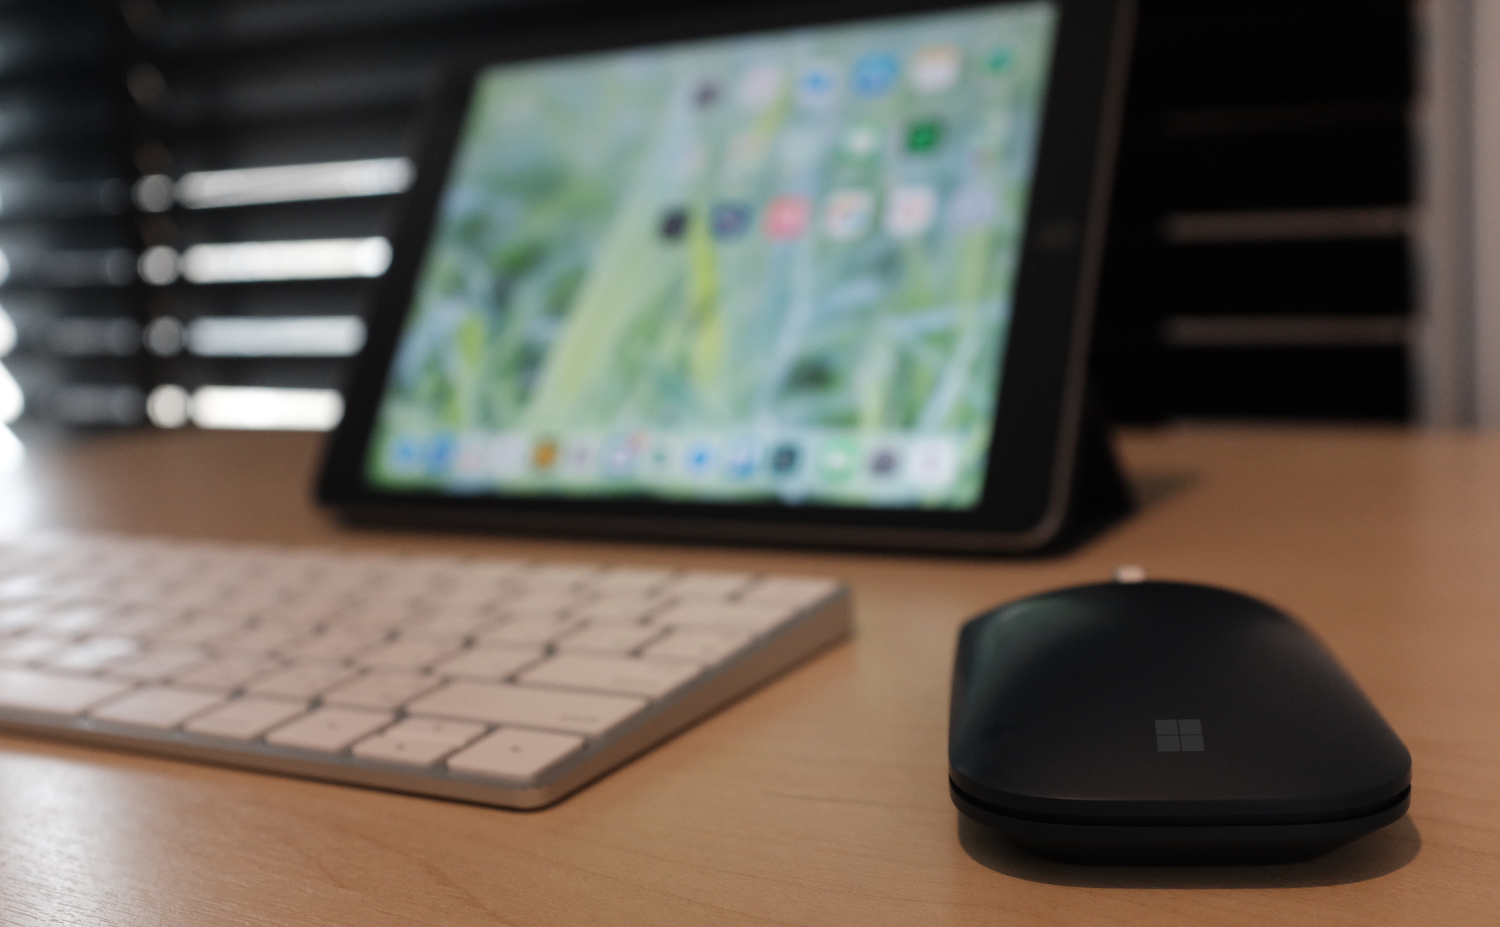
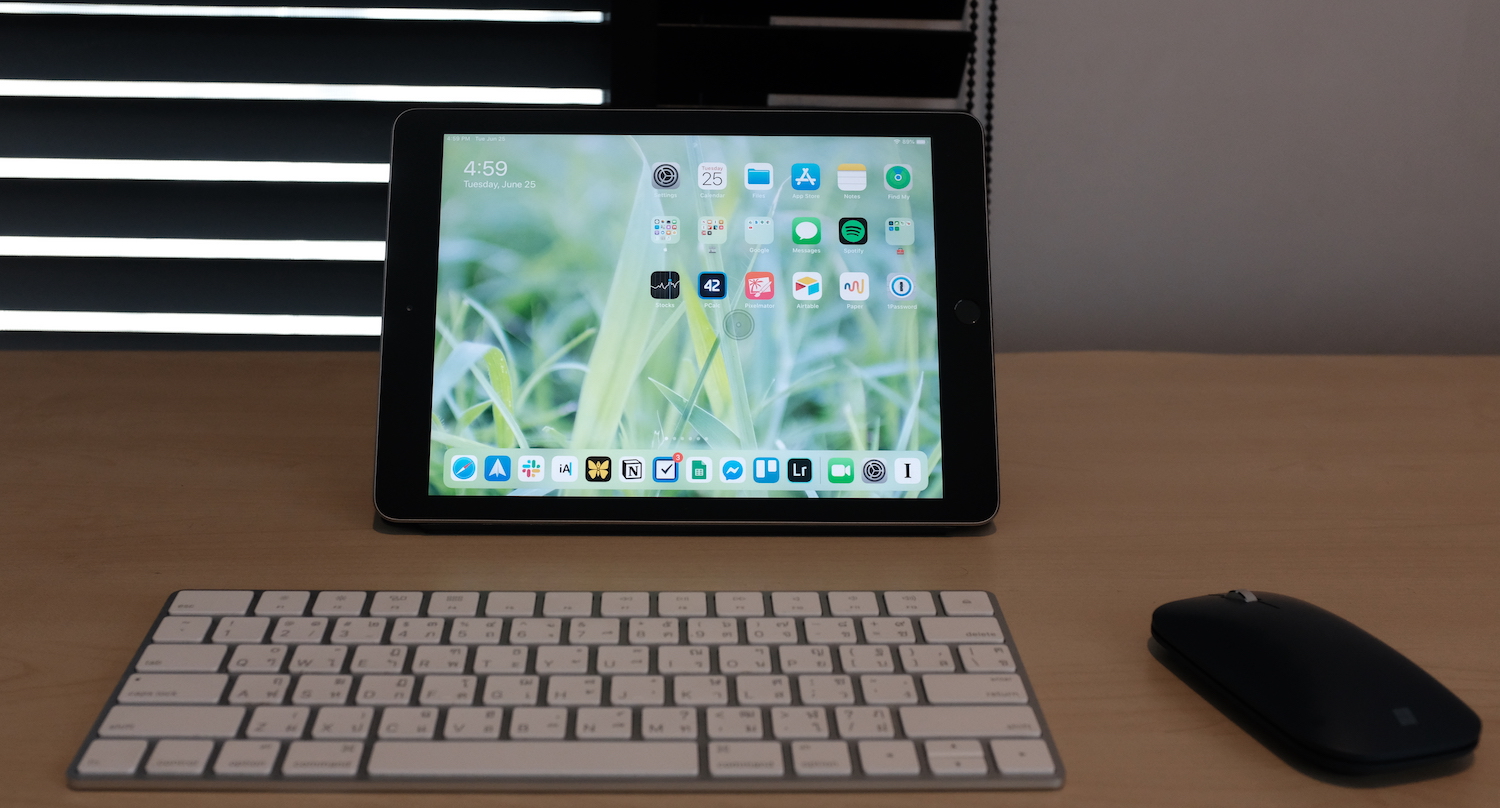
And you need a mouse, either a Bluetooth mouse (not one with a wireless USB dongle) or a wired USB mouse and a USB adaptor for your iPad. Apple’s magic mice and magic trackpad work with iPad over USB, but not wirelessly (I'm using a Microsoft Surface mouse; many on Twitter reported using various Logitech mice).
How Do You Connect a Mouse to iPad?
It’s a bit more tricky than just connecting your mouse.
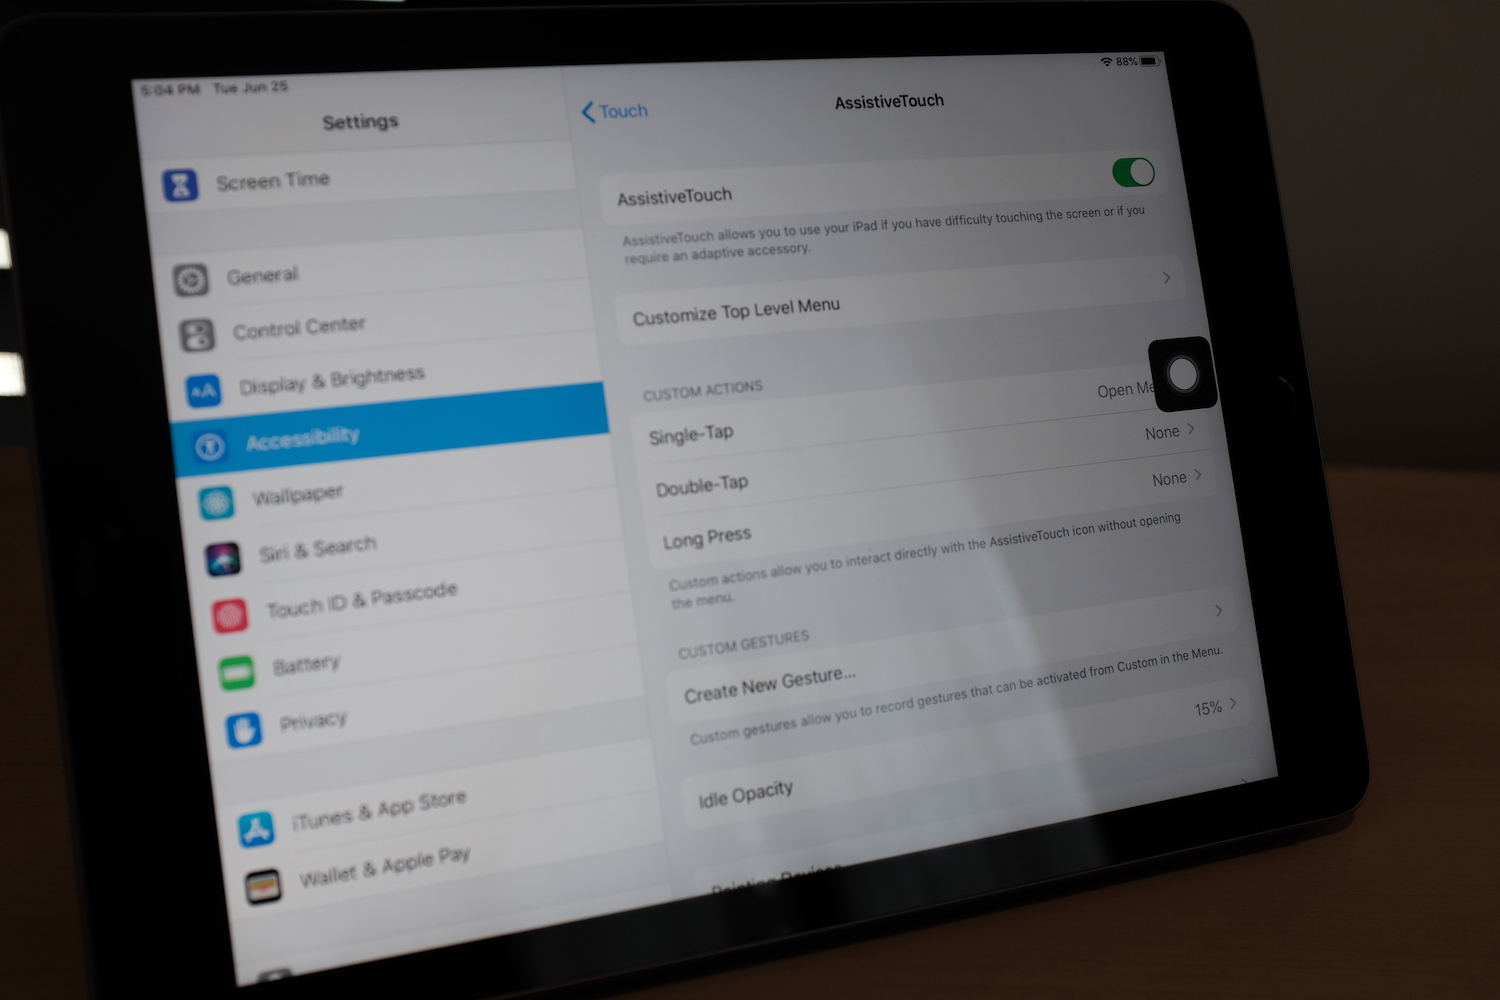
First, open your iPad’s Settings, tap Accessibility, then select Touch and AssistiveTouch. There, turn AssistiveTouch on in the setting on the top. That will show a black rectangle on your screen, similar to the “fake” home button often used on older iPhones to prevent home button wear-and-tear. Tap that button to go home, or to do other actions on your iPad.
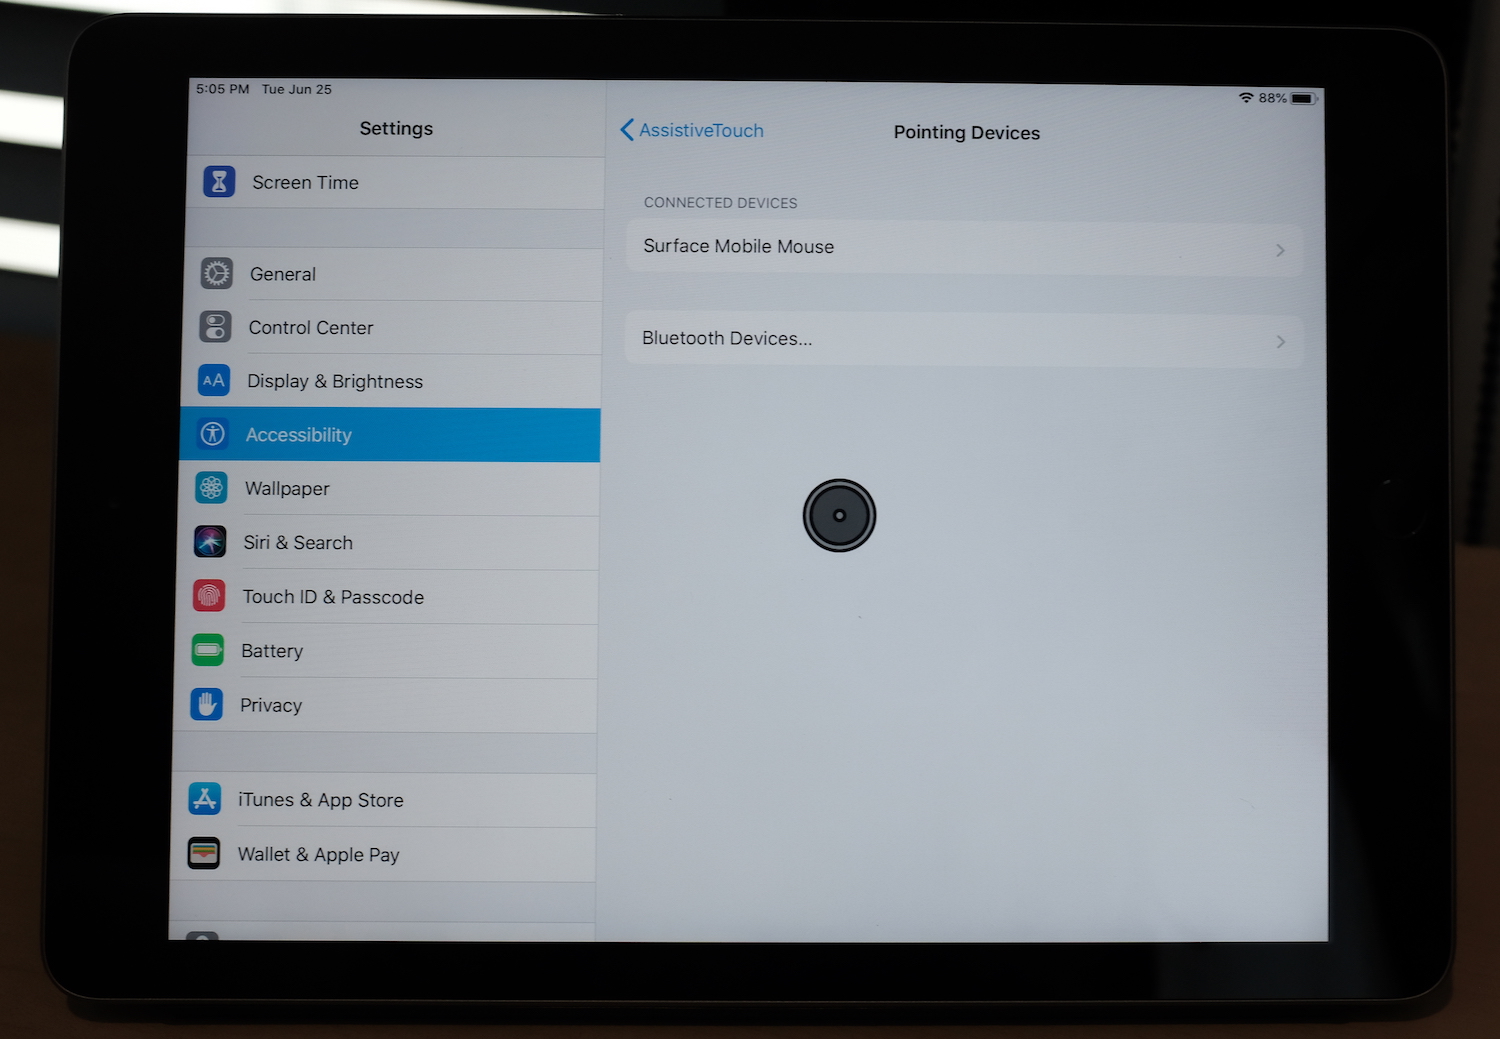
But you didn’t want AssistiveTouch, you wanted a mouse. So turn on your mouse, and make sure it’s not connected to any other devices. Then scroll down that AssistiveTouch settings page, select Pointing Devices, then Bluetooth Devices, and finally select your mouse from the options.
Voilà. Your square AssistiveTouch button will turn into a round oversized cursor, and you can finally use a mouse on iOS.
How Can I Customize My iOS Mouse?
The default iPad cursor is huge and round
There are a few settings to tweak to make your iPad mouse a bit nicer to use:
- The iPad mouse moves pretty fast at first. In the AssistiveTouch settings, you can turn down the Tracking Speed to slow it down.
- Want a different cursor? In AssistiveTouch settings, select Cursor to choose from 7 color options.
- Want a smaller cursor? In that same Cursor menu under AssistiveTouch, there's a slider to make your mouse much larger—and one level to make it smaller.
- Want the cursor to disappear when you're not touching it? Select Auto-Hide Cursor under the AssistiveTouch Cursor settings, then set the time for the cursor to hide.
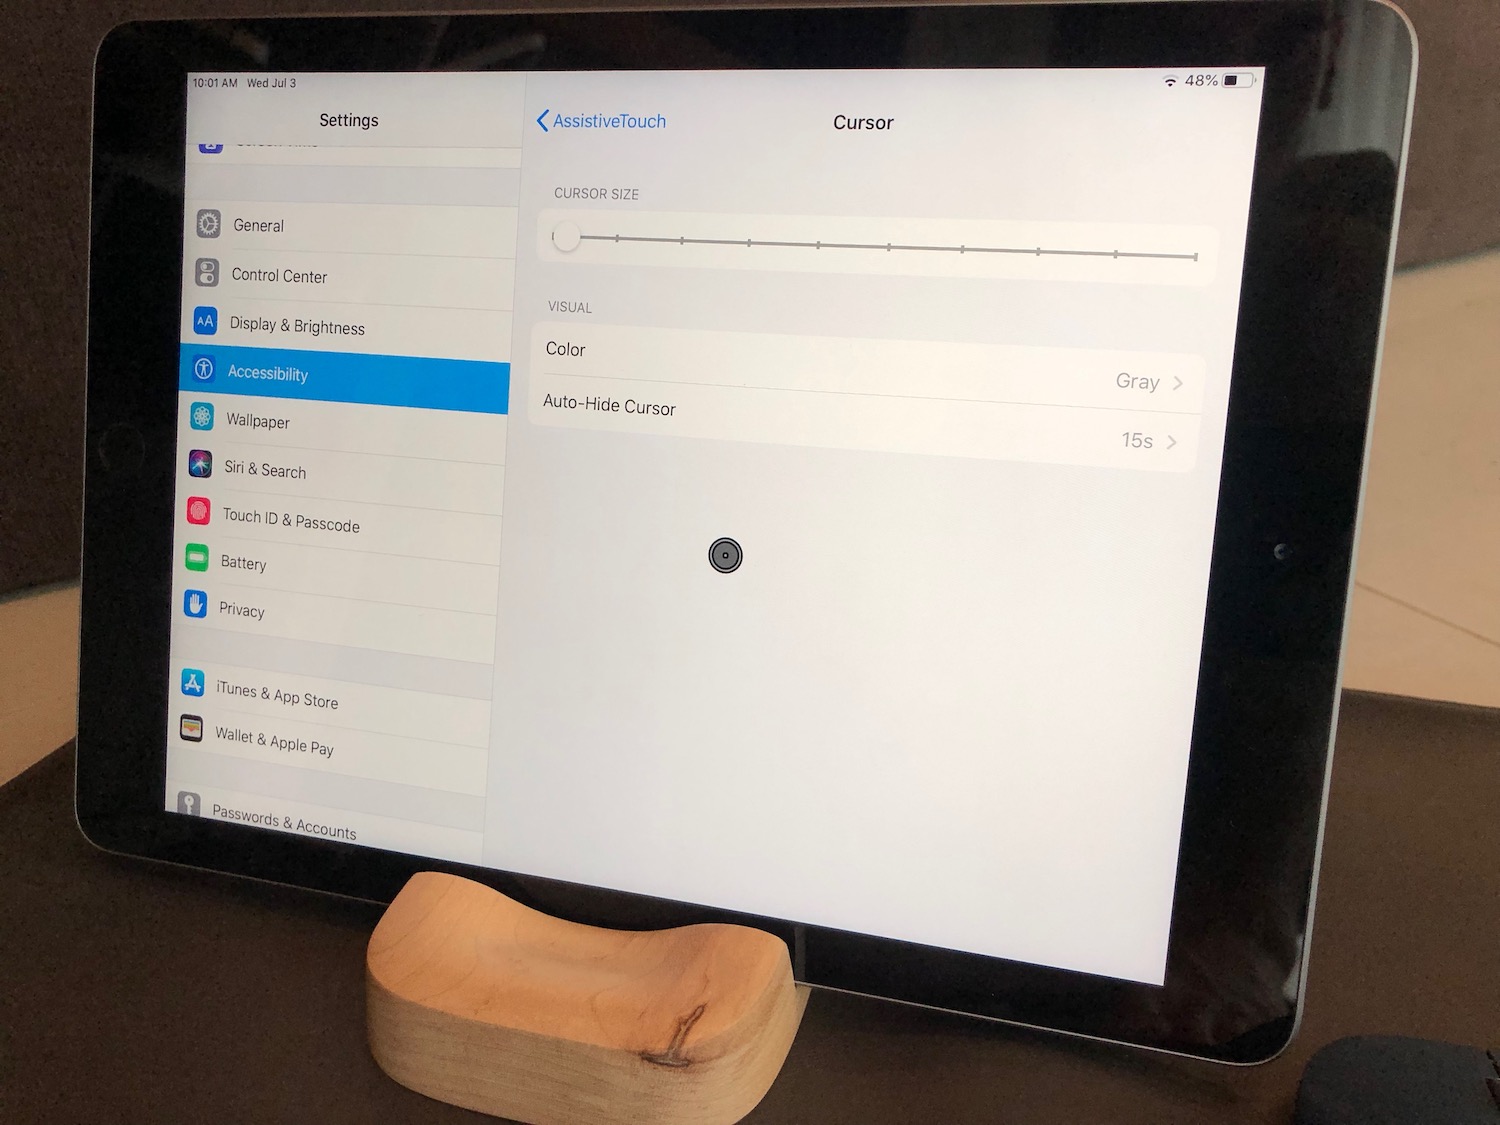
The new, smaller, autohiding iPad cursor
- Want to customize what your mouse buttons do? Tap the i icon beside your mouse name in the Bluetooth Devices settings to choose custom functions for each button (by default, left click works as expected, clicking the scroll wheel goes home, and right click opens the AssistiveTouch menu for a quick way to say open command center or take a screenshot). You can also customize that menu and what single, double, and long taps mean from the AssistiveTouch settings. Power user tip: Mouse buttons can run Siri Shortcuts, too.
- You may notice your keyboard popping up even if you have a bluetooth or smart keyboard connected to your iPad. Back in the AssistiveTouch settings, turn off the Show Onscreen Keyboard toggle which should keep it from showing up when unwanted.
- iOS keeps the AssistiveTouch button visible whenever your mouse is disconnected—which can be annoying. You can fully hide it by turning off AssistiveTouch whenever you're not using a mouse. Or, you can make it nearly transparent when you don't touch it. In AssistiveTouch settings, select Idle Opacity, then set it as low as possible.
Then get back to work, and use the mouse like you would use your finger on the iPad screen. Click and drag up from the bottom of your screen to open your dock, open multitasking, or go home. Click and drag from the right of the screen to bring in the floating multitasking apps. Click and drag down on the home screen to open search. Click and drag to select text, or spreadsheet cells (perhaps the most useful reason to add a mouse to your iPad workflow.
The iPad’s still best for finger-driven interaction, and you’d likely be more productive with an external keyboard and keyboard shortcuts than a mouse. But hey: It’s nice to have it as an option, if a bit surreal to use a real mouse on iOS.
Updated July 3, 2019 with new mouse features from iPadOS Beta 3.
Thoughts? @reply me on Twitter.