Rotate Pictures and Screenshots on iPad or iPhone
Now that you’re ready to write drafts and posts from anywhere on your iPad or iPhone, you’ll be wanting to post more than ever. One thing I post all the time is screenshots. Whether I’m writing a review or how-to tutorial, I always illustrate my posts with screenshots of the Windows program, webapp, or iOS app I’m writing about. But if you’re blogging with screenshots from your iDevice, you may hit a snag.
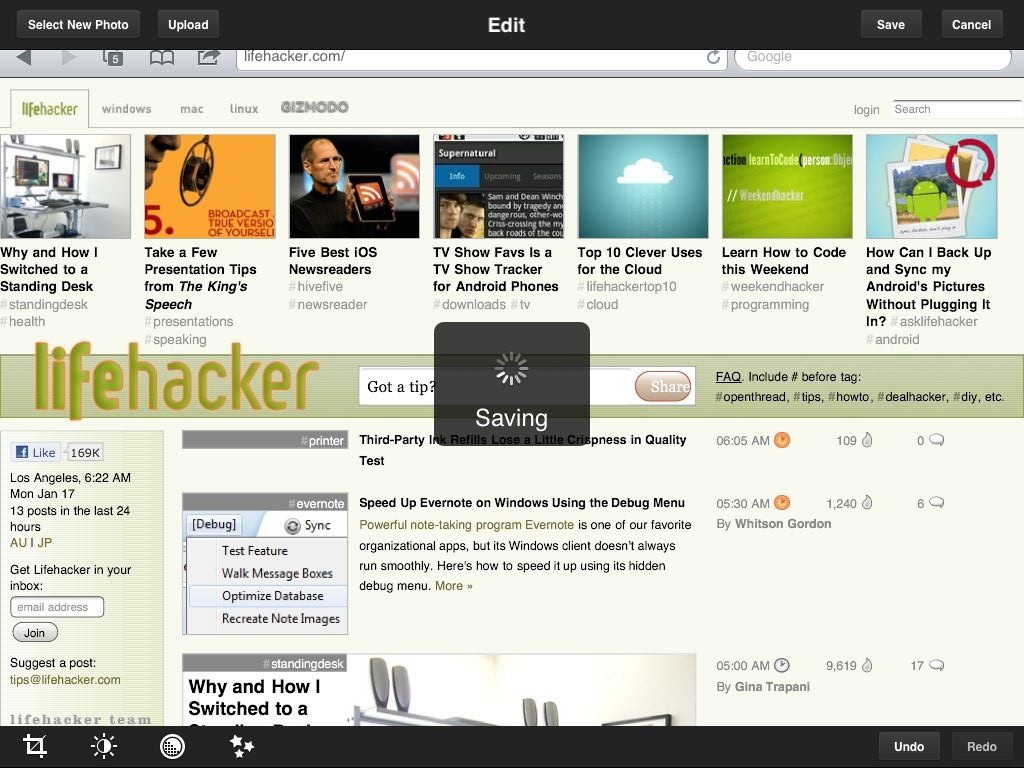
Taking a screenshot isn’t a problem; just press your home and power button at the same time, and a screenshot will be saved to your Photo roll. Now, you can easily find your screenshots in the Photos app or any other program that allows you to import images. The only problem is, if your device was in landscape mode when you took the screenshot, then your screenshot will be flipped on its side. iOS takes the shot as though the device was in standard mode with the home button on the bottom, even though on iPad almost every app supports any rotation mode.
Flip Those Screenshots
Good thing is, that’s not something you can’t fix. There’s a number of free photo editing apps that let you rotate, crop, and flip pictures quickly. Two I use frequently are Adobe Photoshop Express for iOS and PhotoPad. Both of these are free universal apps that work on all iPhone, iPod Touch, and iPads. Let’s see how to rotate a shot using Photoshop Express; it’s my personal favorite, and has a nicer UI in my opinion. Feel free to try out other apps and see which one fits your workflow best, though.
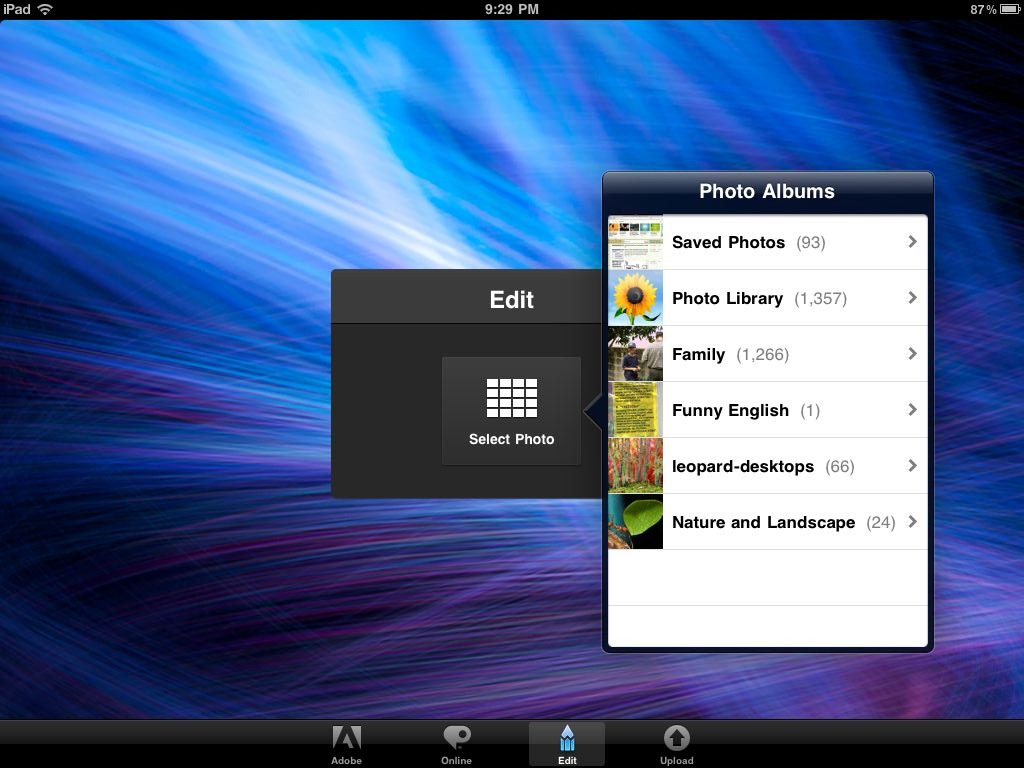
Ok, so first, grab the shot you want to crop. You’ll find all your screenshots you’ve taken in the Saved Photos album.
Tap the crop icon in the bottom left corner, then select Rotate to, well, rotate your shot. Or, of course, if you need to crop your screenshot, select that instead. You shouldn’t need to straighten screenshots, though… :)
Now just drag a corner of your picture with one finger to rotate it like you need. I’d love to have a multitouch rotate and crop too, but I haven’t found one yet … if you know of an app that is more touch-orientated for photo touchup, let us know in the comments. Once you’ve got your shot rotated as you need, press Ok in the bottom right corner to accept the changes.
Now your picture is the correct orientation and is ready to be blogged. Press Save on the top right, and you’ll see your new, corrected screenshot in the Photo Roll as before. And, as before, this works the exact same on any iOS device, so even though the example shots here are on iPad, it’ll work the same on your iPhone too!
Flip Them Back in Windows
If you copy your screenshots to your PC before blogging them, you can still rotate them easily without opening Photoshop or other intensive apps. Just open your shot in the default Windows Photo Viewer or Windows Live Photo Gallery, and click the Rotate button on the bottom. Exit the window to save your shot once you’ve got it rotated as you want. Now you can upload it directly to your WordPress editor or write a new post in Live Writer … Quick and easy.
Got more tips for blogging on the go from your iPhone or iPad? Sound off in the comments!
Happy screenshot blogging!
Download Photoshop Express for iOS (universal app)
Download WordPress for iOS (universal app)
Thoughts? @reply me on Twitter.


![sshot-2011-01-17-[1] sshot-2011-01-17-[1]](http://techinch.com/wp-content/uploads/2011/01/sshot-2011-01-17-1.png)